Follow these fun steps to get the most out of the Tracking Pixel tool and get those clever analytics pixels onto your Marketing Apps:
Step 1. Start by creating a Pixel Code (Tag) in the Marketing Analytics Tool you're using (like Google Analytics). Fill in all the important bits, like which platform to track, what parameters you're looking at, events you want to keep tabs on, and any special customizations that fit your marketing dreams.
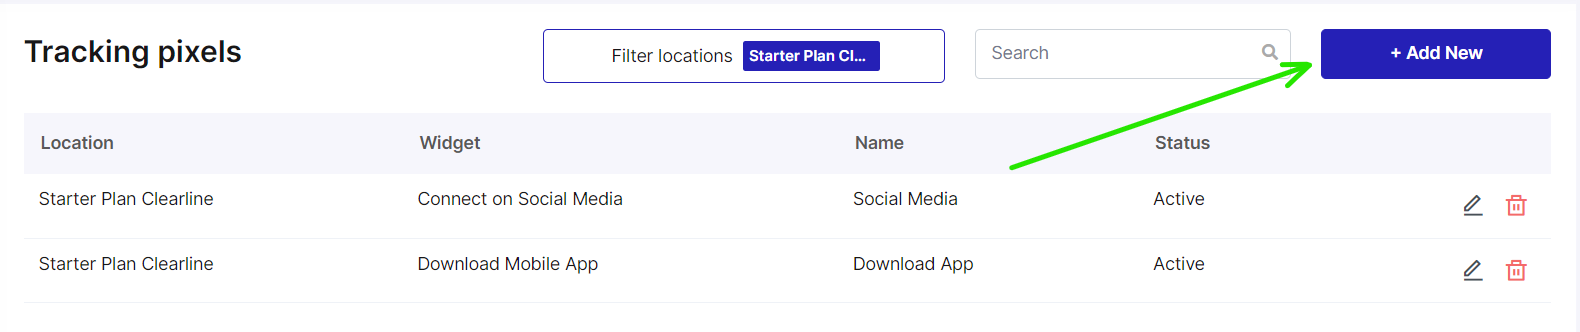
Step 2. Head over to the Admin Panel, find 'URL's & QR codes', then 'Tracking Pixels', and click 'Add New'.
Step 3. Time to set things up: pick a location, choose a widget, name your pixel, pop in the pixel code (tag), switch on the tool, and hit 'Save'.

Step 4. Once you see a message in the top right corner saying 'Pixel Tag created successfully', you know you're on the right track. If you ever need to change or delete it, just select the Tag and click the pencil or bin button next to the Tag's name.

Don't forget to enable your updated landing page so that your changes kick in and the analytics pixel gets to work on the page.
Step 5. Make sure it works. To check your analytics pixel is working smoothly, head to your Marketing Tool (like Google Analytics). Open your favourite web browser and go to the URL of the Marketing App you're testing. You can get the URL by going to Marketing Center, clicking the app you need, clicking 'Open QR Code'. Give the page a whirl by doing actions that your analytics pixel is tracking.
Step 6. Check out your data. Once your pixel is up and running and doing its thing, it'll start collecting data. Dive into your analytics platforms, like Google Analytics or any other you've hooked up, to see the data your landing page has gathered. Use these insights to tweak your marketing game plan, boost conversions, and make your users' experiences even better.
Way to go! You've mastered the Tracking Pixel tool and got those analytics pixels onto your Marketing Apps. Nice job!